14 Mar 2024
|15 min
UX research discussion guide template
Optimize your user interviews with this comprehensive discussion guide template.


User research interview discussion guides can be both overwhelming and lack context. To address this gap, I developed a UX discussion guide template for all of my applied research studies, including both moderated and unmoderated studies.
In this article, you’ll find an overview of what I include in my discussion guide template, where I gather my information from, and how I flesh out each section of my guide.
Need help understanding the purpose of discussion guides? Check out my UX discussion guide article. It explains what discussion guides are and when and how to use them for your user research sessions.
How I structure my UX discussion guide templates for effective stakeholder collaboration
It’s important to note that I use my discussion guides as a working document when collaborating with stakeholders. Therefore, I give primary consideration to the stakeholder experience. You’ll see how this information is repurposed for actual user interview sessions as well.
Once this template is completed and approved by my stakeholders, I repurpose parts of it into a Google Sheet in the following manner:
Tab 1: Introduction (Section 6).
Tab 2: Warm-up (Section 7) to wrap-up (Section 9), with time blocks listed in column A.
I list each section's title along with the time frame for that section.
I leave a few blank rows between each section to provide a visual break and to indicate transitions, as well as to allow for extra notes.
Column A is “frozen” so it’s always visible.
The rest of the columns, for example B-J, are used for participant notes. These notes are taken vertically to align with each question.
Tab 3: A list of the interview schedule and other details for easy management and stakeholder access, such as:
The date and time for each session.
The Zoom link or other access details for stakeholders.
The participants' names and contact information.
The participants’ most important screener responses.
Before creating a discussion guide, it’s paramount that you have a final research plan that was developed in collaboration with your stakeholders. My template includes the names of these core collaborators, as well as several sections that are repurposed from the research plan. I copy this information into the discussion guide template to make the most important information easily accessible for my stakeholders.
In each discussion guide, I include the following key information at the top:
Research Project: The study’s name
Date: The date the discussion guide was created
Key Stakeholders: The core collaborators
Researcher: My name
Moderated Session Time Frame: The length of each session (e.g. 60 minutes)
Now, I’ll share an overview of each section I include in my discussion guide template, along with context about what I include.

Section 1: A high-level overview of the client/company
In the first section, I include a few sentences about the organization and how the research fits into their key performance metrics, OKRs, or similar goals.
Where does this information come from?
It should be repurposed from your research plan.
Is this section always necessary?
I always include it for consulting clients, however it may not be necessary if you’re working in-house.
Section 2: Background
In this section, I provide an overview of why the organization is interested in the research, how this study came to be, and the broad research goals (e.g. the long-term outcomes of this work or a description of the destination). Metrics, decisions to be made, and key considerations may clarify or substantiate the above.
I usually follow with three to four bullet points with additional context, for example, Challenge/Goal 1: One or two-sentence description of the challenge or goal to study.
Where does this information come from?
It should be repurposed from your research plan.
Is this section always necessary?
Yes.
Section 3: Research objective
In this section, I include an overview of how the research will be approached in “chunks.” I often list these as single, achievable outcomes that are tangible and narrow in scope, with clear actions and deliverables. Ideally, they include the metrics your stakeholders are trying to establish or enhance so your readers can grasp the bigger picture of the study.
I usually follow the bullet points with additional context, for example, Objective 1: One-sentence description.
Where does this information come from?
It should be repurposed from your research plan.
Is this section always necessary?
Yes
Is there anything else to keep in mind?
Sometimes I author these objectives as questions and other times as statement goals. It depends on the study and the question set I’m exploring.
Not all objectives are equal. You may have one primary objective and a few smaller, less important objectives, or some other hierarchy. It’s important to clarify the hierarchy with stakeholders while developing your research plan.
Elevate your research practice
Join over 320,000+ marketers, designers, researchers, and product leaders who use Lyssna to make data-driven decisions.

Section 4: Must-have questions/criteria to cover
In this section, I add three to four bullet points with additional context about the most important user research questions or topics the session must gather data on. For example, Question 1: One-sentence description, Question 2: One-sentence description, and so on.
Where does this information come from?
It should be informed by your stakeholders and iterated upon in your regular stakeholder meetings.
Is this section always necessary?
Yes.
Anything else to keep in mind?
These questions should be unbiased.
Similar to objectives, not all must-have questions are equal. You may have one primary must-have question and a few smaller, less important questions, or some other hierarchy. It’s important to discuss the hierarchy with stakeholders when developing your discussion guide.
How to make sure your questions match your goals and objectives
Above, I mentioned that not all research goals/objectives and must-have questions are equal in our studies. I like to use the example table below to align the questions, tasks, and activities listed in the discussion guide to the objectives.
Objective 1 | Objective 2 | Objective 3 |
|---|---|---|
- How might we scale the offerings without sacrificing expected quality? | - How might we increase workshop enrollment? | - How might we offer the workshops at optimally convenient times? |
Every question, task, and activity should support at least one goal or objective. This is a great way to evaluate if your proposed question set aligns with your study’s intentions.
To take this one step further, you can also create a separate table to align your questions to your assumptions. This way, you can make sure you’re asking the right questions to either validate or disprove the assumptions in your research plan.

Section 5: Nice-to-have questions/topics to explore
In this section, I add three to four bullet points with additional context about any nice-to-have questions or topics the session could gather data on, time permitting.
Where does this information come from?
It should be informed by your stakeholders and iterated upon in your regular stakeholder meetings.
Is this section always necessary?
Yes.
Anything else to keep in mind?
These questions should be unbiased.
Similar to must-have questions, not all nice-to-have questions are equal. You may have one primary nice-to-have question and a few smaller, less important questions, or some other hierarchy. It’s important to clarify the hierarchy with stakeholders when developing your discussion guide and be prepared to rearrange or remove them as clarity sets in.
Section 6: Introduction (5 minutes)
In a moderated study, this is where you introduce yourself to your participant, confirm the time frame for the session, set the expectations, and let them know how you'll be spending your time together (at a high level). I also like to provide a little context about the topic we’re discussing and how the learnings will be applied, and mention if any of my teammates are joining us.
If the study requires participants to look at or listen to something (e.g. this is evaluative research), it’s important to let them know that you either didn’t contribute to the design or creation in any way (assuming you didn’t). If you did contribute, don't mention this.
Instead, you can simply say you’re on the product team (as opposed to the design team, or you're the designer who developed what they'll be evaluating). We do this so that participants feel comfortable freely expressing negative feedback.
My standard intro includes: “Please know that there are no right or wrong responses to anything we're going to discuss. And I have no vested interest in how you respond to anything today. In fact, the more candid and detailed you can be, the easier my job will be.”
In an unmoderated study, this is where you'll provide a brief overview of the unmoderated study to set the context. For example, if the research is gathering feedback on a travel planning prototype, let the participant know. If it’s a low-fidelity prototype, explain that some things won't be working properly, and that’s okay. If it’s a preference study and the participants will be comparing two options, set the stage. If participants will be doing some activities, let them know. Remember, unmoderated sessions are typically 15 minutes or less.
Where does this information come from?
I have an intro template I use and revise accordingly. This saves me from reinventing the wheel for each study.
Is this section always necessary?
Yes.
Anything else to keep in mind?
You’ll want to get consent from your participants to record and confirm they’re joining the session from the right device or browser, if applicable.
Each section in the discussion guide from here on out is labeled with a time frame. This helps you make sure you’re allocating your time appropriately within the session.
Section 7: Warm-up (10 minutes)
The purpose of this section is to create a comfortable atmosphere for the interviewee, to build rapport with easy-to-answer questions, and to get the conversation started. Typically, I begin with a few simple questions that also help me learn more about the participant and the product, service, or topic I’m exploring.
Where does this information come from?
These warm-up questions are typically specific to the study, platform, or brand, so you'll need to craft them for each study individually.
Is this section always necessary?
Yes.
Anything else to keep in mind?
Use this warm-up time to gauge how interested your participant is in the topic and whether they’re verbose or more withdrawn. Also check that they're framed and lit properly (for video capture) and that their sound is strong (for audio capture). If any of these things need to be adjusted, now is the time to address them.
Section 8: Digging deeper (25 minutes)
Here, we spend most of our time on the main topic. In this section, you’ll dive into specifics, details, stories, contexts, etc.
Begin by listing your 3–5 must-have questions (from your research plan). They should be listed in Section 4. Then, add in sub-questions, probing follow-ups, and pictures, screenshots, soundbites, or any other evidence you'll gather, in sequence.
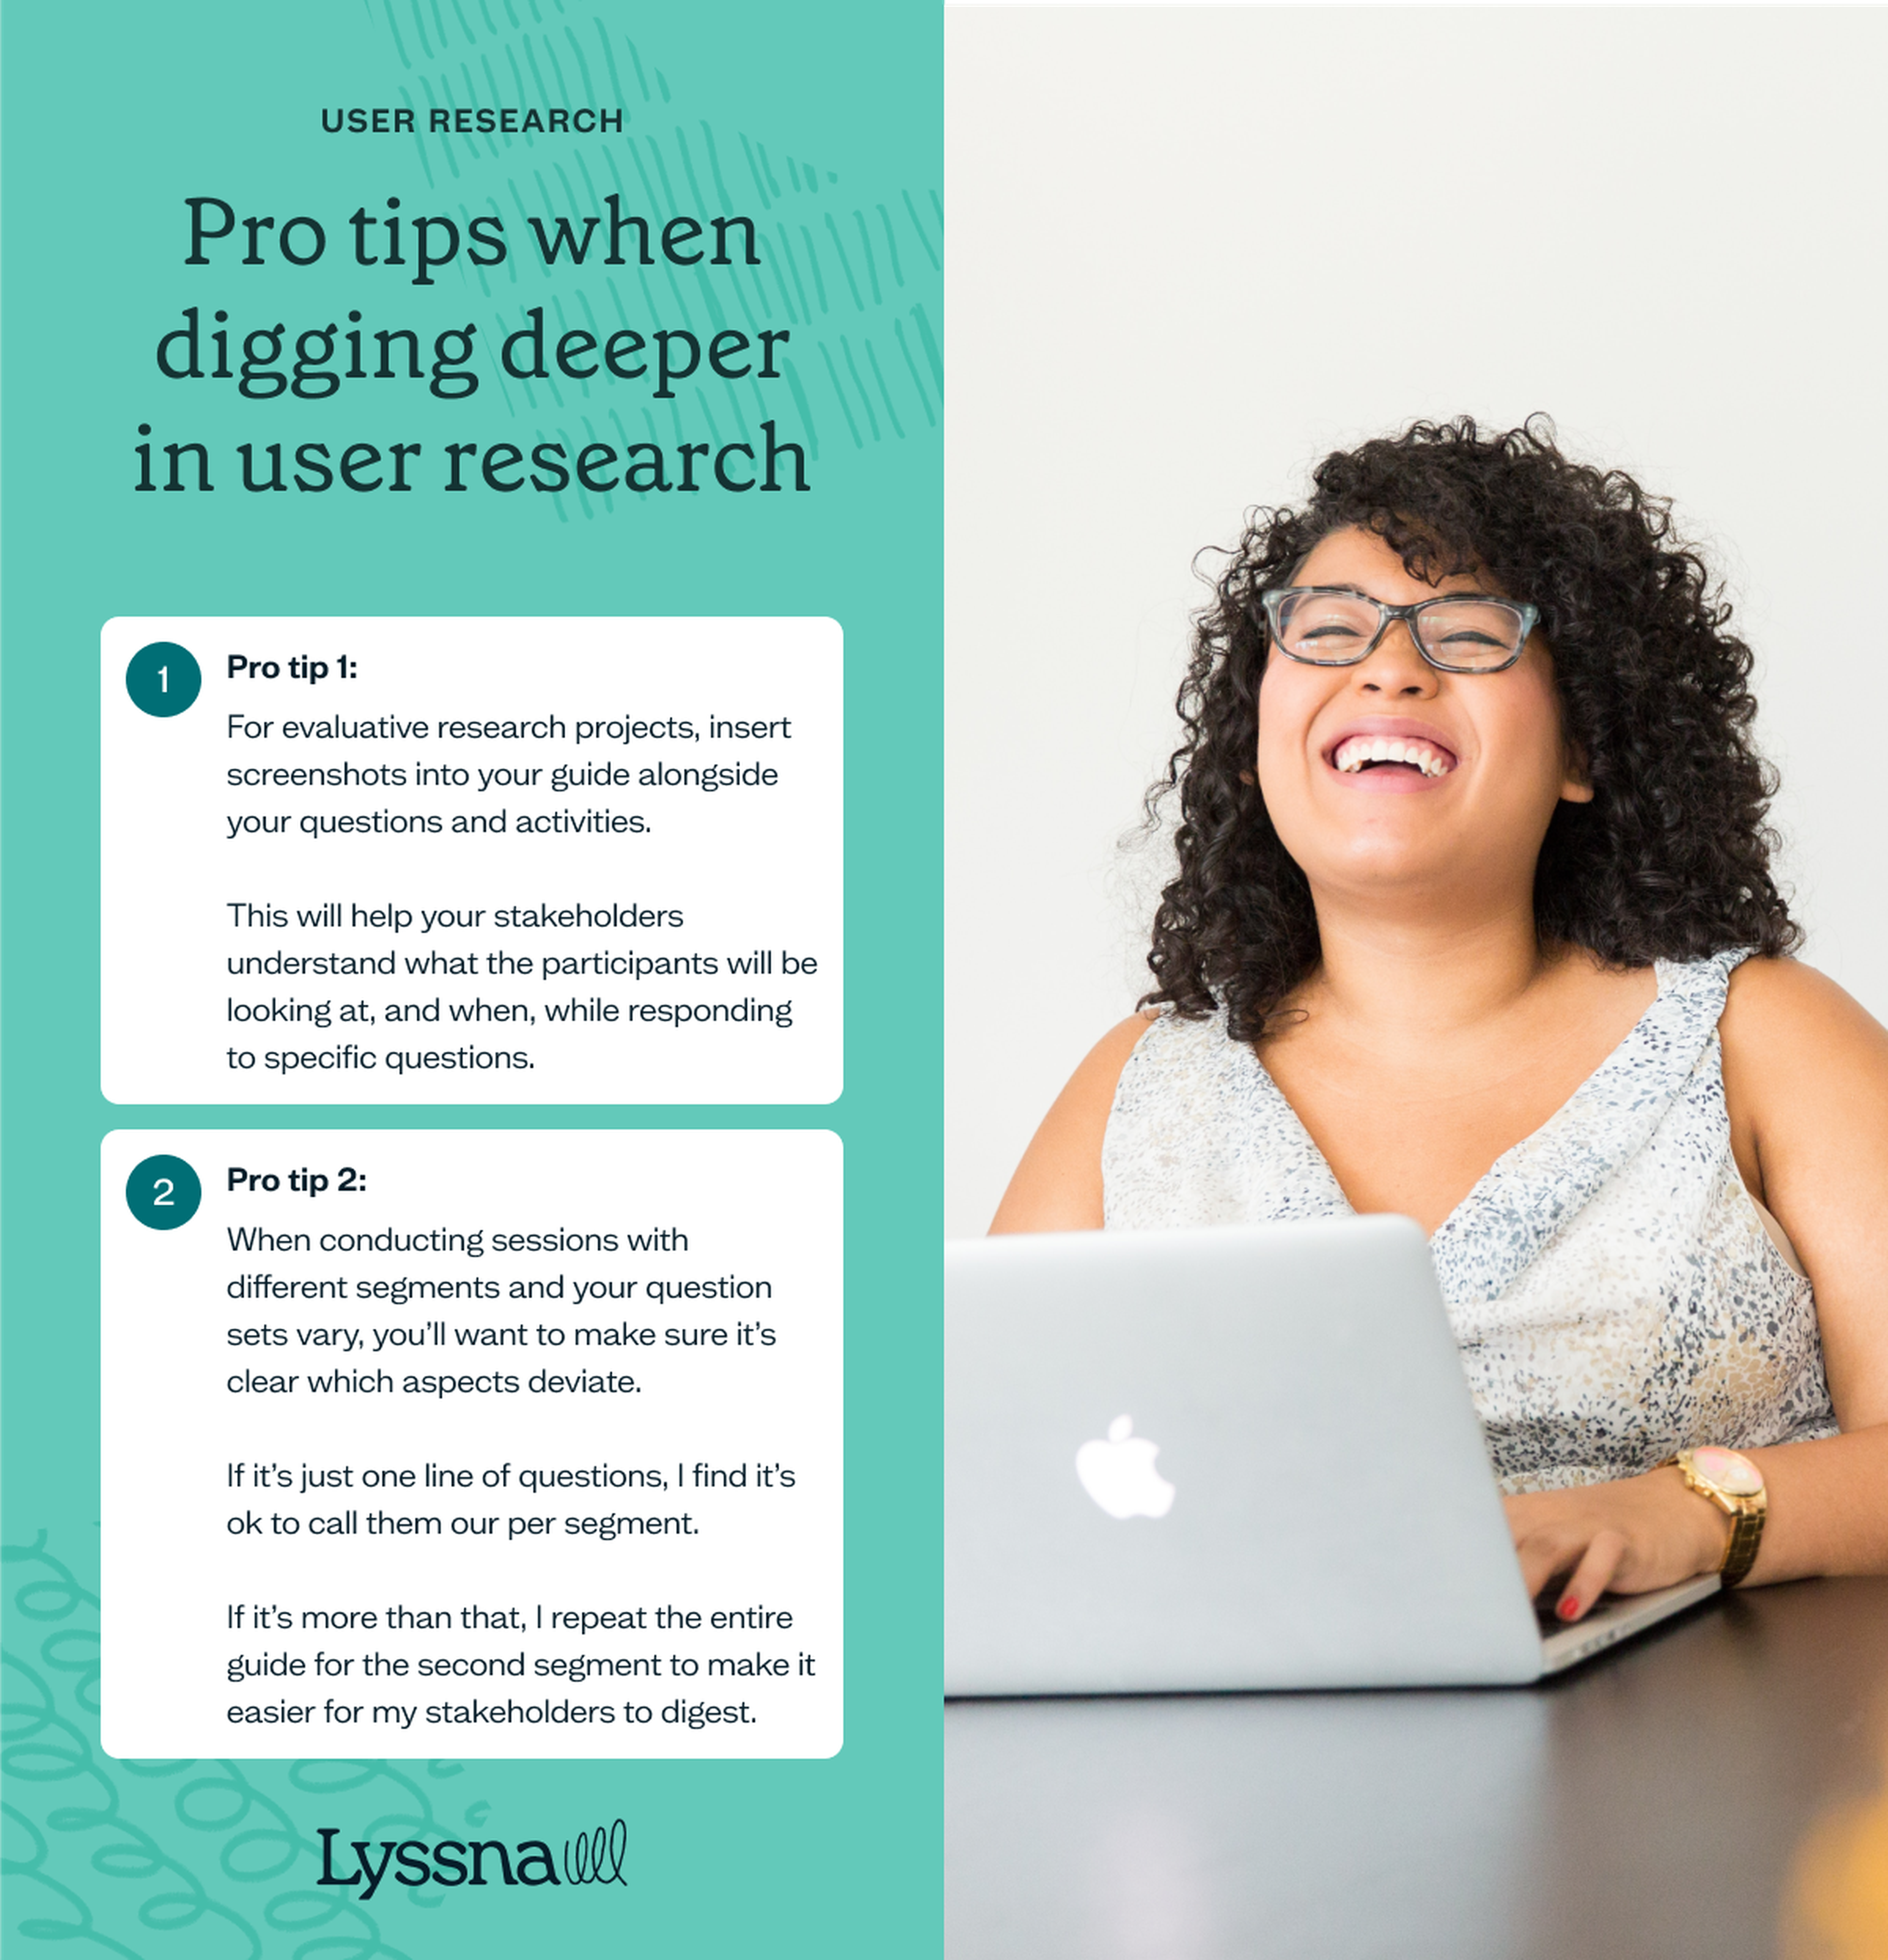
Pro tip 1: For evaluative research projects, insert screenshots into your guide alongside your questions and activities. This will help your stakeholders understand what the participants will be looking at, and when, while responding to specific questions. It will also help you make sure the participants are looking at the right thing when you’re asking your questions.
Pro tip 2: When conducting sessions with different segments and your question sets vary, you’ll want to make sure it’s clear which aspects deviate. If it’s just one line of questions, I find it’s ok to call them our per segment. If it’s more than that, I repeat the entire guide for the second segment to make it easier for my stakeholders to digest.
Where does this information come from?
These questions are specific to the research and are crafted for each study individually.
Is this section always necessary?
Yes.
Anything else to keep in mind?
I like to start broad and then work my way into more specific questions. When changing topics, I use visual or verbal sign posting to let the participant know we’re switching gears.
Section A: Tasks (10 minutes)
Tasks, scenarios, and activities may or may not be relevant to your particular study. Some examples include card sorting, empathy mapping, journey mapping, mind mapping, plotting, sentence completion, and so many other fun options! If any tasks or activities are a part of your study, this is where you'll provide the set-up directions, links, and any other relevant information about them.
Where does this information come from?
Tasks/activities are specific to the research, so you’ll need to craft them for each study individually.
Is this section always necessary?
No.
Anything else to keep in mind?
Make sure you pilot all tasks/activities in advance with a participant who either doesn’t have internal access to your tools and platforms, or with someone in incognito mode.
Section B: Shots or soundbites to gather (10 minutes)
Sometimes I plan to gather specific audio, video clips, or screenshots as artifacts from my sessions. I usually build this into the “Digging Deeper” or “Tasks/Activities” section in sequence. Calling this out in a specific section in my discussion guide helps to remind me to gather these artifacts.
Where does this information come from?
The screenshots and soundbites you want to gather are specific to the research, so you’ll need to craft these for each study individually.
Is this section always necessary?
No.
Section 9: Wrap-up (5 minutes)
This is where I create space for subjects to share additional information and context. I ask if there’s anything related to the topic I should have asked about and if there’s anything else they think may be helpful for me to know.
I also repeat what I think I heard in response to the must-have questions and ask the participants to correct or confirm for accuracy.
Lastly, if there are stakeholders on the call, I ask them if they have any further questions. Then I end by genuinely thanking the participant.
I also include a scratch pad in my discussion guide template. I use this as a “parking lot” to save key questions and other information that I may want to refer to in the future.
In sum, my interview discussion guide template contains far more than simply the questions I pose to my participants. It includes pertinent research plan information to enable easy alignment with the study’s goals and to mitigate the need for me and my stakeholders to review multiple documents. It also includes other details, like links and visuals.
I find this template works well for me and my students. I hope you’ll give it a try and adjust it to meet your needs!
Your go-to user research platform
The best teams use Lyssna so they can deeply understand their audience and move in the right direction — faster.

This article was authored by Michele Ronsen, Founder and CEO of Curiosity Tank. Michele is a user research executive, coach and educator. She teaches design and user research to people around the world. Her corporate trainings and workshops are inspired by working with Fortune 500s and start-ups for more than twenty years. Fuel Your Curiosity is her award winning, free, user-research newsletter. In 2020, LinkedIn honored Michele with a TopVoices award in the Technology category. She is the first and only researcher to receive this award.
You may also like these articles


Try for free today
Join over 320,000+ marketers, designers, researchers, and product leaders who use Lyssna to make data-driven decisions.
No credit card required