27 Feb 2024
|10 min
UX research discussion guide
In this guide, you'll learn how to unlock insights with effective user research discussion guides. Find out how to create a discussion guide step-by-step, what questions to ask, and what feedback to look for.


In this article I'm going to dive deep into the world of UX research discussion guides.
You can think of discussion guides as comprehensive plans for your qualitative or quantitative research sessions. A well-crafted guide can empower your sessions so you can uncover valuable findings and insights efficiently. But a research guide isn’t just about the questions you’ll ask; it encompasses every facet of the session, providing a seamless flow of transitions and activities.
In this article, I explain what discussion guides are, when to use them, and how to create well-structured guides for your user research sessions.
Why do we use discussion guides in UX research?
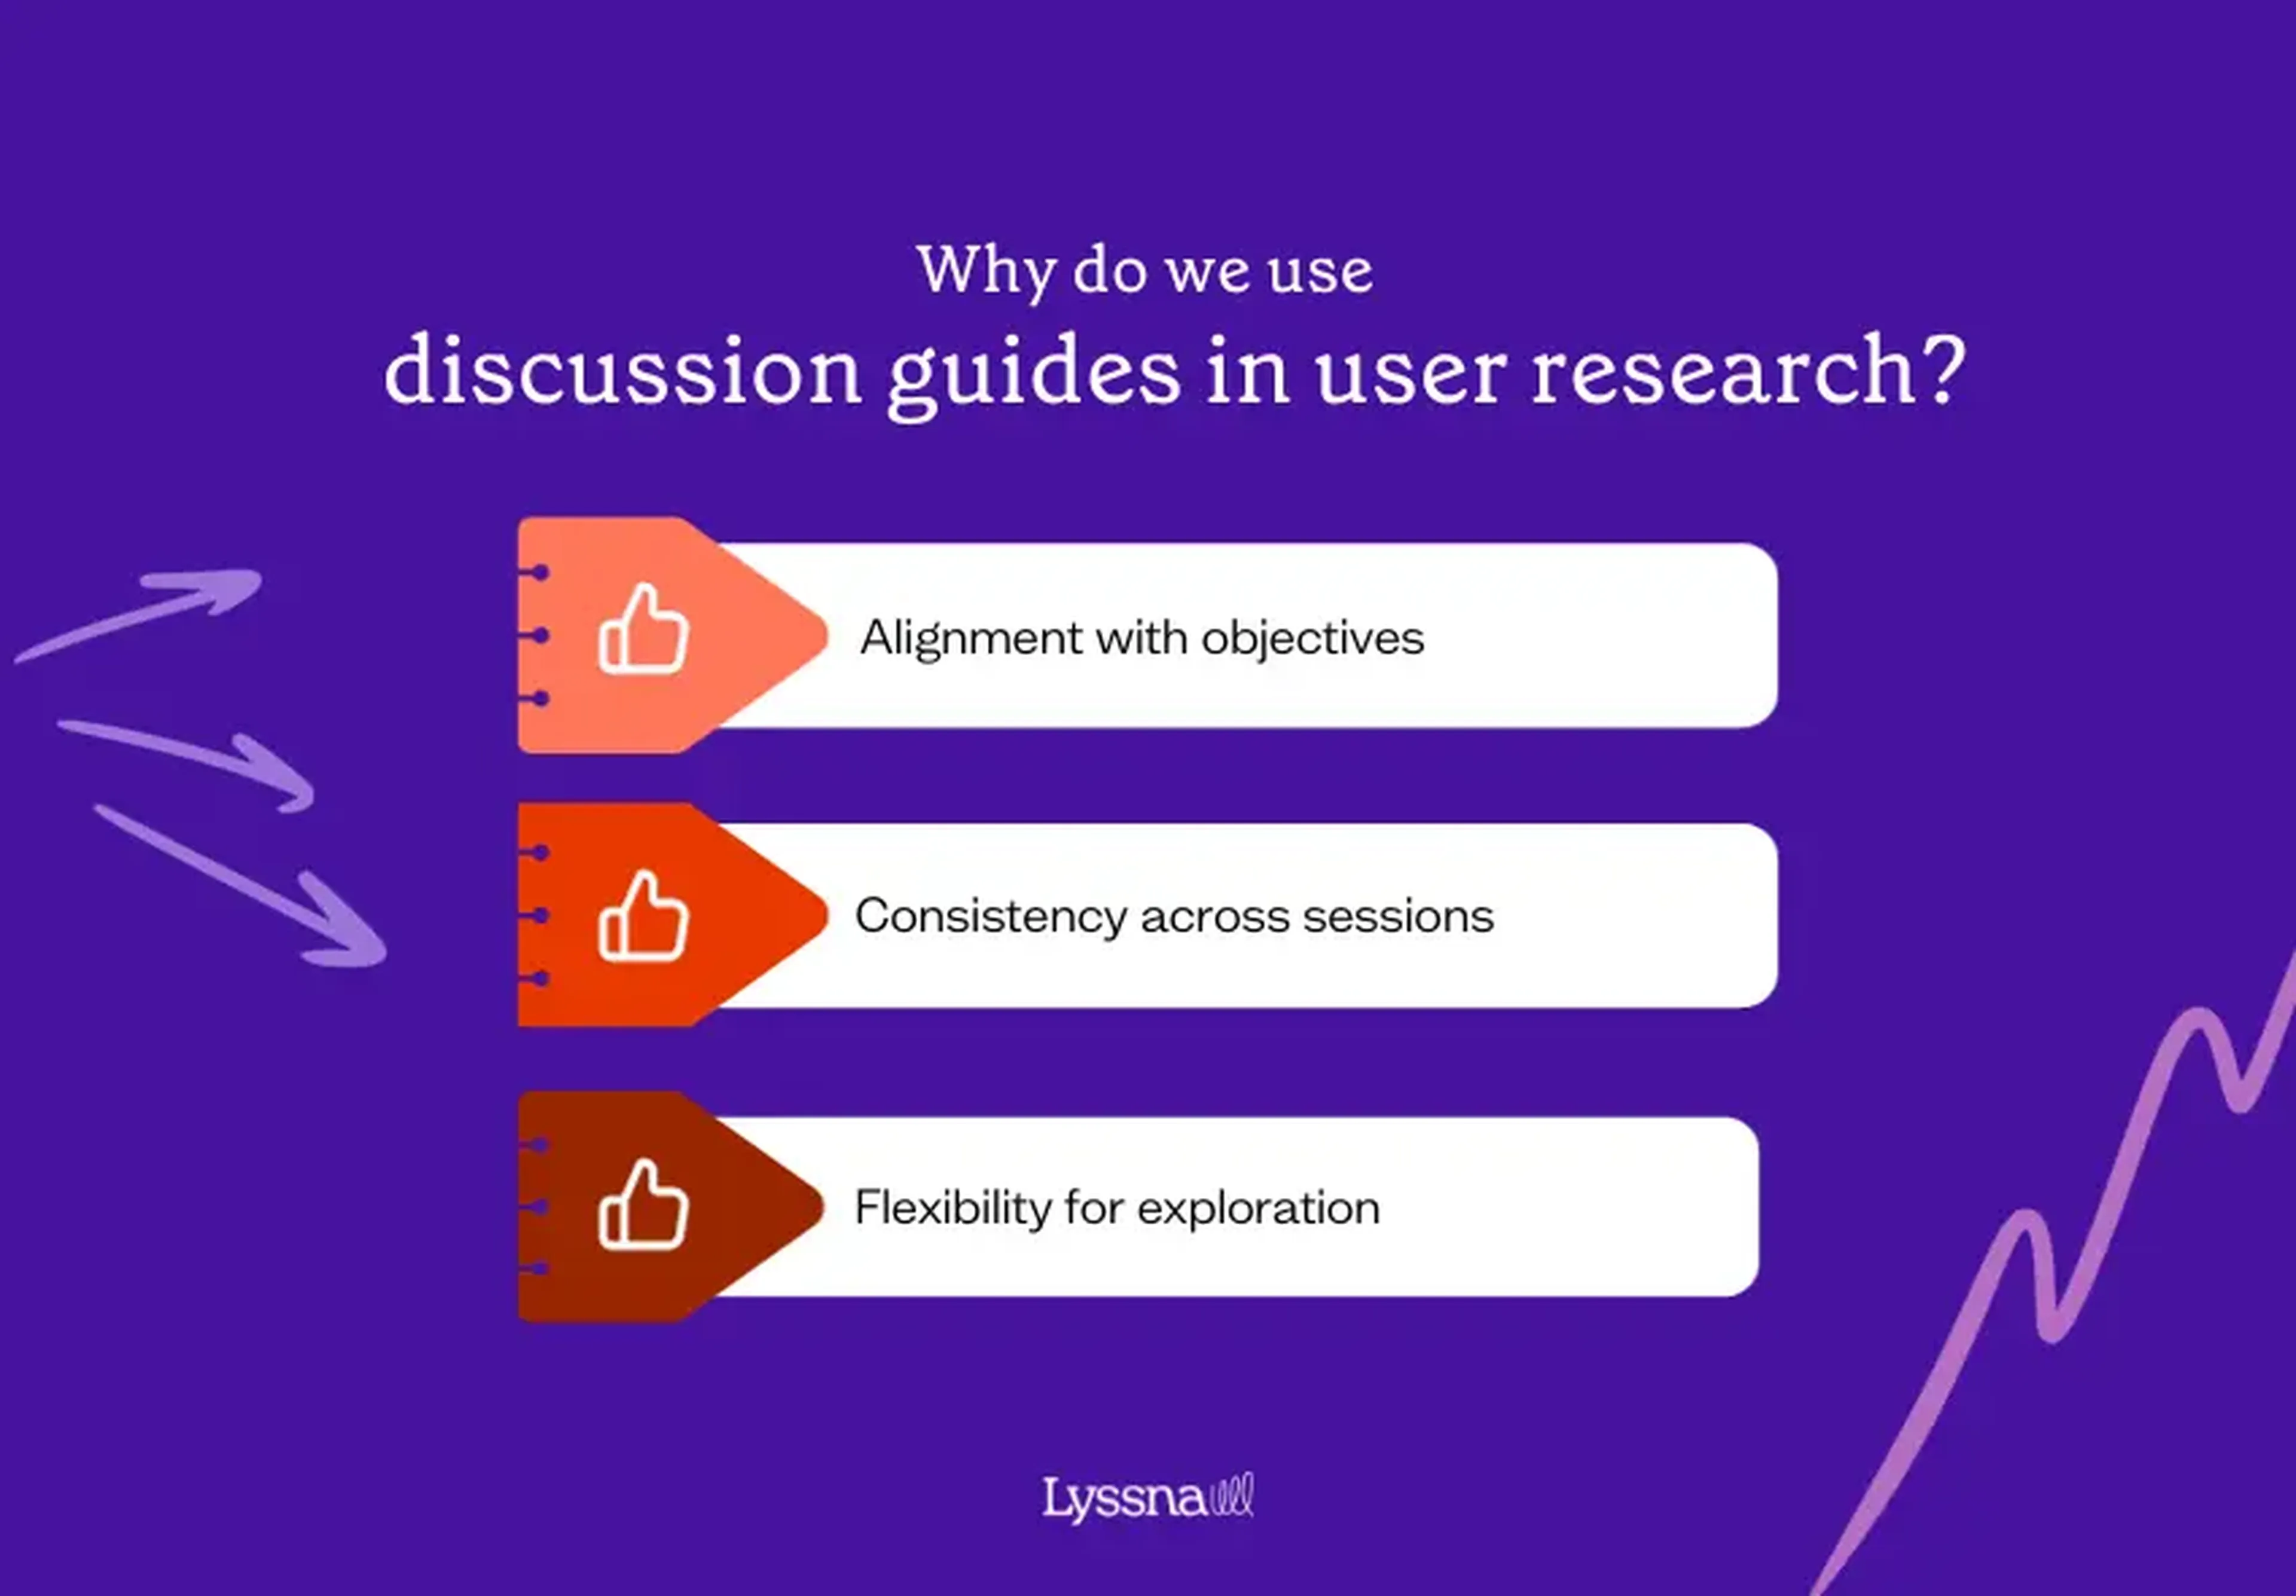
Discussion guides are indispensable for several reasons:
Alignment with objectives: They direct conversations, providing alignment with research objectives and specific evidence capture.
Consistency across sessions: A well-structured guide provides consistent questioning, allowing for pattern recognition and reliable data.
Flexibility for exploration: While guiding, a discussion guide isn't a rigid script. Experienced moderators can and should explore new and pertinent topics that participants introduce.
When to create a UX research discussion guide
Discussion guides are versatile and should be used throughout the product development process. Guides should be drafted after your research plan and recruiting criteria are solidified and approved by stakeholders. Stakeholders should provide feedback on and approve the guide as well.
I even author guides for my unmoderated sessions. They help me envision the unmoderated experience, it’s sequencing, and ensure alignment with the study’s goals.
Elevate your research practice
Join over 320,000+ marketers, designers, researchers, and product leaders who use Lyssna to make data-driven decisions.

How to create a UX research discussion guide
Below are the steps I follow to create my research discussion guides.
Prioritize key questions: Adapt questions from your research plan and prioritize them based on importance.
Allocate time: Determine the time available for each session and add timestamps for different sections (e.g. introduction, .
Organize question sequencing: Create a natural flow for your questions. Explore broader topics before diving into specifics.
Clarify verbiage: Ensure questions are free from bias, jargon, double-barreled phrasing, and unnecessary words.
Align with research goals: Make sure each question directly aligns with your research objectives.
Pilot your guide: Test your guide and any associated activities or stimuli before the first session to make sure everything runs smoothly.

I’d suggest adding a section at the end of your discussion guide that you can use to cross-reference your research goals/objectives with each question posed in the guide. Aligning the information in this way helps to guarantee that:
Each goal/objective has questions in the guide that support it.
Each goal/objective has the right amount of questions in the guide in proportion to the weight of each goal/objective (not all goals/objectives are equal!).
You can evaluate and address any extraneous, missing, and/or redundant questions.
What to include in your UX research discussion guide
To make things easy, I have written a research discussion guide template. But below is a summary of what to include in your guide.
Introduction
A warm and engaging introduction sets the stage for what will happen in the session. During the intro you will want to gain permission to record from your participant, create a comfortable environment, and set expectations.
It’s also a time for you to confirm your essential recruiting criteria to help mitigate participant fraud. Ask your core screener questions, then cross-reference your participant's verbal responses to their screener responses. If they don’t match, strongly consider canceling the session.
Also confirm the time allotted for the session. If your participants aren’t available for the full session length, find out whether you can cover the most important questions; otherwise, reschedule or cancel.
Confirm participants are joining from the right type of device and browser (if important) at the beginning of the session. If they need to switch their device, strongly consider rescheduling or canceling.
Make sure that any legal consents or permissions are addressed in the intro as well. These protect both you and your participants.
I have this verbiage built into all of my discussion guides and I say it while recording: “Thank you. I confirm the recording has started and I have your permission to record.” This serves as a reminder to check I am indeed recording (again)!
Tips for crafting effective user research interview questions
Ask relevant questions aligned with your research goals.
Include actionable questions and specific probes to dig deeper into each topic.
Sequence questions so the conversation will naturally flow.
Use open-ended questions for exploration and closed-ended questions for confirmation. Here are some examples of open-ended questions:
How would you describe your ____ process?
What works well about X? What doesn't work well about it?
How do you decide if/when to _____?
Where were you when this happened?
Please show me how you would initiate/do/go about that.
How would you describe this experience to someone who was unfamiliar?
Who are the people involved in making this decision?
When does X come into play?
Where would you go to learn more about _____?
What would you do at this point if I wasn't here?
Note that closed-ended questions typically begin with “is, were, was, can, do, and did”. While they have their place in a discussion guide, most of the quesitons you ask should be open-ended. They entice richer, more thoughtful responses with important context. Also note the brevity and directness above. These are short, use simple and natural language, and don't contain any unnecessary words.
Some other things to bear in mind:
Eliminate leading questions with bias.
Keep language simple and clear, avoiding jargon.
Focus on one question at a time and pause after each.
Aim to understand participants without judgment.
Create a "wrap-up" to summarize the session. Repeat back what you “think” you heard about the most important takeaways and then ask for confirmation or clarification. This often creates a terrific sound bite, too.
Include cues for observers or notetakers to ask additional questions or seek clarification during the session.
Pilot the entire guide and everything associated with your session.
I typically have a dedicated Slack channel set up where my observers/notetakers and I can communicate in real time. This allows me speedy access to ask them questions, provide feedback, and vice versa. At the end of the session, I ask if they have any additional questions as well.
I like to categorize the questions AND label the "must have," "nice to have," and probing questions clearly. This visually, and literally, reminds me of my priorities and ensures I focus on the most critical aspects. It makes a huge difference when short on time.
Session materials
Provide links to any materials, prototypes, or other resources to share with participants during the session, and be sure to add any required login credentials.
Remember, when you’re testing more than one concept, switch the order in which you are showing the concepts to mitigate bias. For example, specify in the guide who will see concept A first, versus who sees concept B first.
Outline any pre-session work, artifacts you want to collect, and screenshots you want to capture. Having this detail in your guide significantly reduces the chances of forgetting to refer to it or capture it.
When conducting evaluative research, insert images of your stimuli in each section of your guide to make sure the participant is in the right location when you’re asking specific questions.
Time management
Timestamps help keep your sessions on track and make sure you cover all necessary areas.
I add timestamps at the beginning of each section. For example, the intro may be listed as five minutes, and the “establish background context” activity may be listed as fifteen minutes.
Include at least three to four time markers in your guide. I often include six or seven to make sure I’m on schedule.
How to navigate off-topic conversations
During moderated sessions, it's common for participants to veer off-topic. While these diversions can offer valuable input, managing them effectively is essential to prevent the session from going sideways.
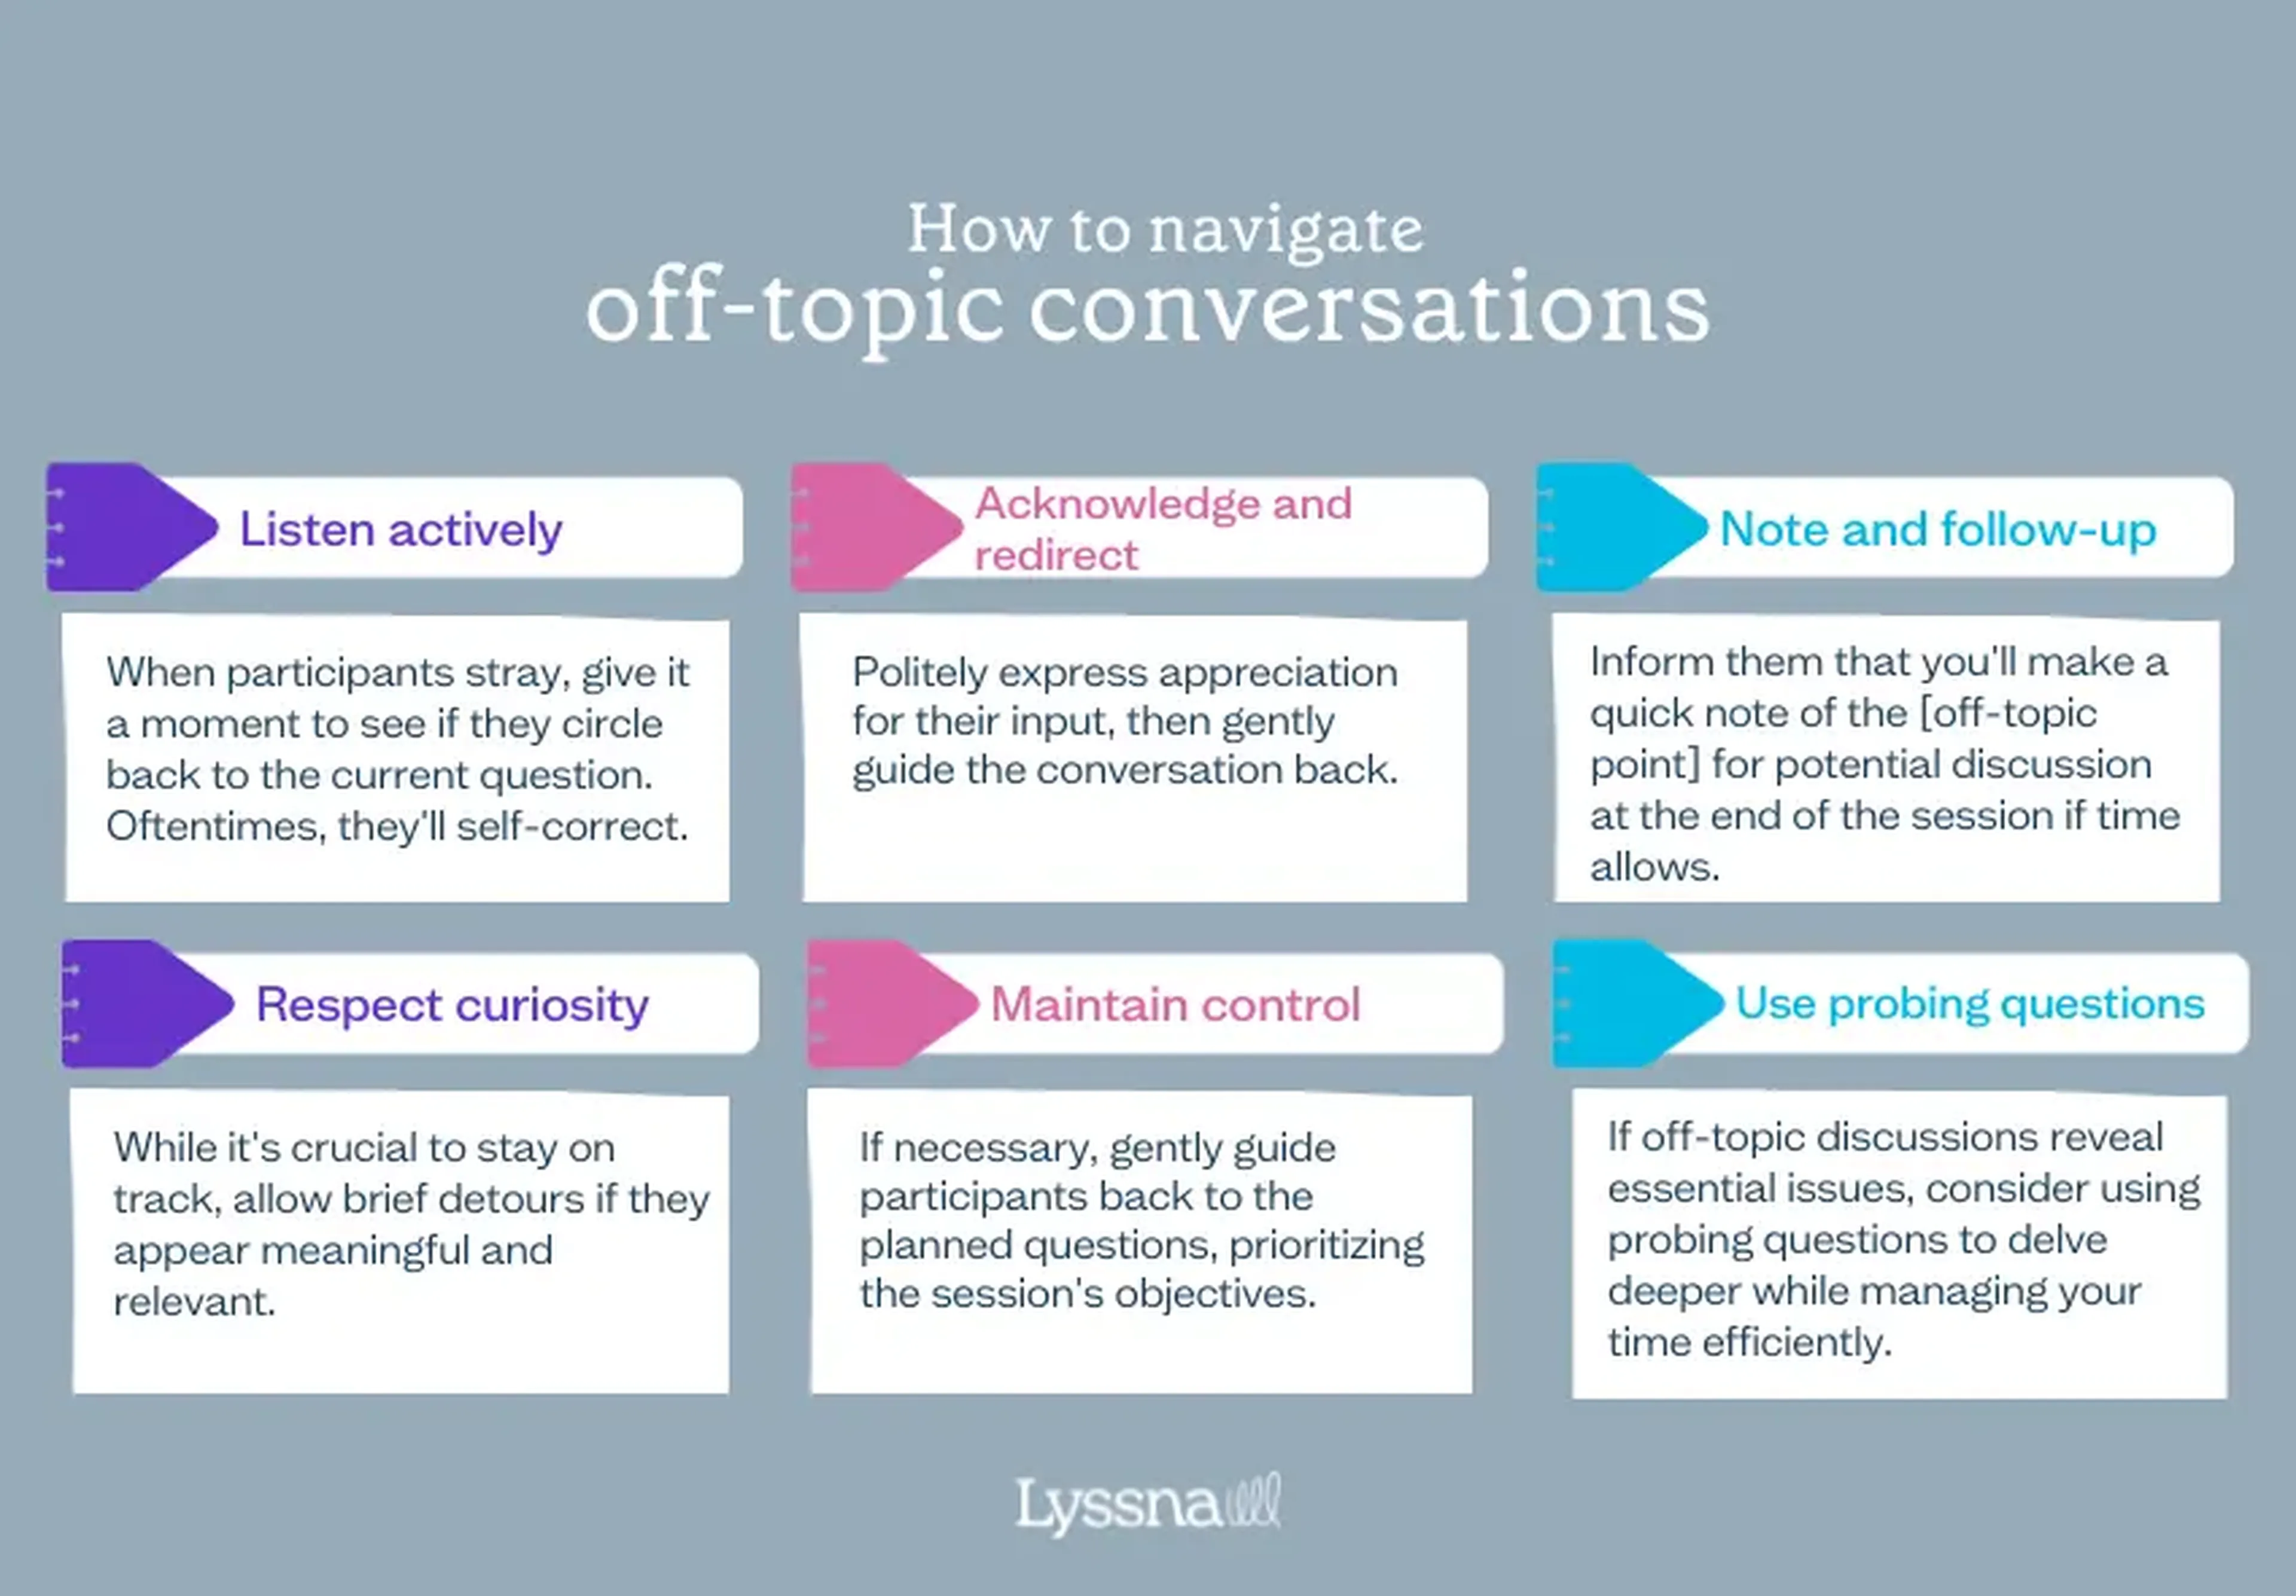
Here's a quick guide to handling these situations with finesse:
Listen actively: When participants stray, give it a moment to see if they circle back to the current question. Oftentimes, they'll self-correct.
Acknowledge and redirect: If they don’t self-correct, politely express appreciation for their input, then gently guide the conversation back. You can say something like, "That's intriguing. Please help me understand how this relates to X?”
Note and follow-up: Inform them that you'll make a quick note of the [off-topic point] for potential discussion at the end of the session if time allows. This demonstrates that their input was heard and is valued.
Respect curiosity: While it's crucial to stay on track, allow brief detours if they appear meaningful and relevant.
Maintain control: As the moderator, your role is to steer the conversation. If necessary, gently guide participants back to the planned questions, prioritizing the session's objectives.
Use probing questions: If off-topic discussions reveal essential issues, consider using probing questions to delve deeper while managing your time efficiently.
By following this concise guide to effectively managing off-topic conversations, you can harness valuable input, maintain the focus on your core objectives, and potentially help another team in the process.
Off-topic conversations shouldn’t overshadow your research objectives. Remember, your discussion guide should act as a strong compass, yet allow flexibility for unexpected learnings.
When the off-topic conversations aren’t related to my study goals (e.g. they’re about a different aspect of the product we’re not currently exploring), I let the participant know I’d like to circle back to it at the end if there’s time. I then share their feedback with the right team/person and ask the participant if they’re open to chatting about it in the future. UX is a team sport!
Conclusion
Discussion guides are essential tools for precise and insightful user research. Crafted thoughtfully, they empower you to unlock valuable insights, guide your research effectively, and drive meaningful changes. Happy researching!
Your go-to user research platform
The best teams use Lyssna so they can deeply understand their audience and move in the right direction — faster.

This article was authored by Michele Ronsen, Founder and CEO of Curiosity Tank. Michele is a user research executive, coach and educator. She teaches design and user research to people around the world. Her corporate trainings and workshops are inspired by working with Fortune 500s and start-ups for more than twenty years. Fuel Your Curiosity is her award winning, free, user-research newsletter. In 2020, LinkedIn honored Michele with a TopVoices award in the Technology category. She is the first and only researcher to receive this award.
You may also like these articles


Try for free today
Join over 320,000+ marketers, designers, researchers, and product leaders who use Lyssna to make data-driven decisions.
No credit card required